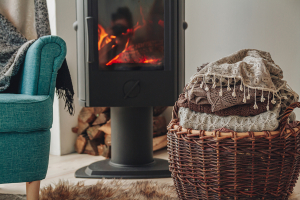
Real fireplaces are now incredibly popular in the UK. Many of us enjoy the appeal and comfort of a woodburning stove or open fire, and for some people it has once again become an important part of home heating. But if you don’t know how to use your fire correctly, you could not only be wasting money, but damaging your appliance, your chimney and polluting the environment.
Blackened glass is caused by a buildup of soot, creosote, and other combustion byproducts. If the fire doesn’t burn hot enough or wood used is not seasoned properly, it can produce more creosote which caused the glass to blacken. Check out our top tips to prevent your stove glass from turning black:
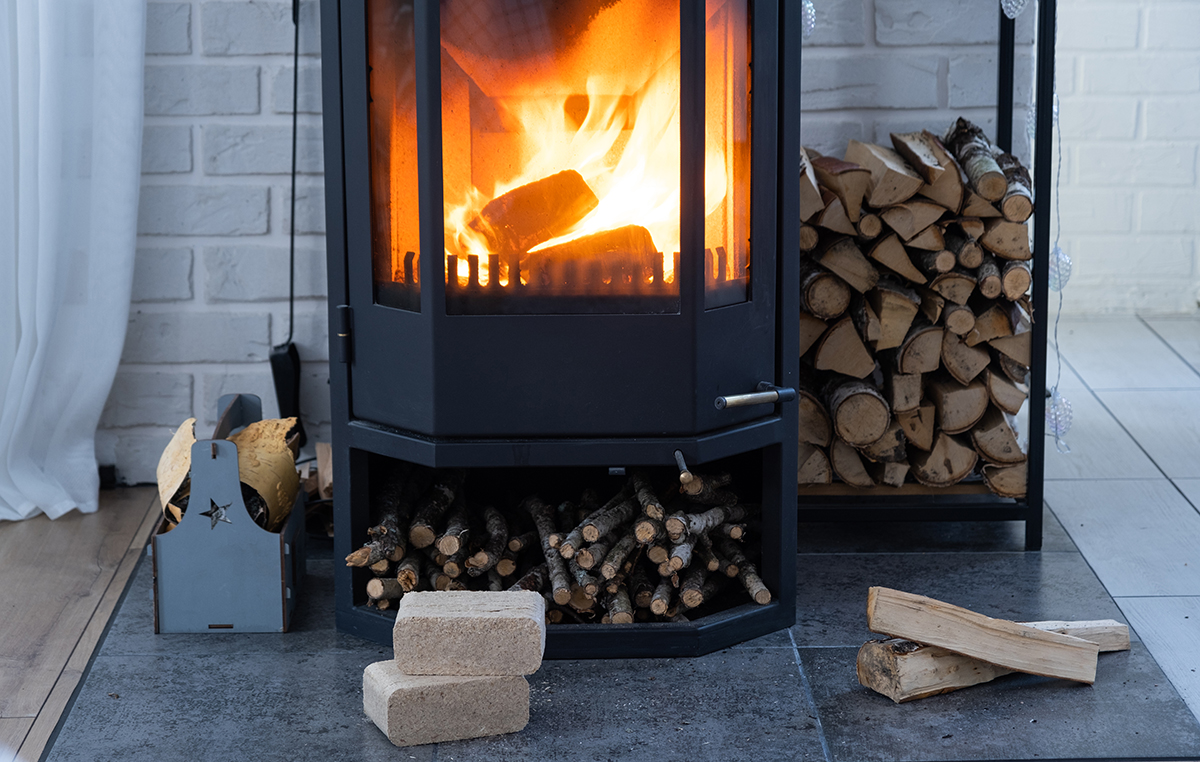
1. Burn Dry Wood
Generally, seasoned wood is seen as the most environmentally-friendly fuel and therefore the one that is the most widely-recommended. However, it’s important to use only dry wood, which should contain 20% moisture or less. Smokeless coal fuels will produce much less air pollution than regular “house coal”.
To ensure your wood is in prime burning condition, let it season under nature’s watchful gaze for about 6-12 months. Stack logs so the air can get at them. If you cut and split them yourself, try to do this when the wood is fresh cut as it is much easier on you and your tools. Once split, you have greatly increased the surface area of each piece and it will dry much faster.
Logs need to be properly stacked, not heaped in a pile. A well-ventilated log store with open sides and a roof on it is the best situation. You should easily be able to achieve moisture content of 20% or less in 6 to 12 months if your logs are the right size and properly stored. Beware of the word seasoned, it means nothing in reality. The only important consideration is the moisture content. A moisture meter is a very useful tool. To test the moisture content of any log, split it first and then test the split surface.
Logs should not be too large – 5 inches wide (125mm) will give the best result. Using large logs to make the fire last longer will usually result in a lower burning temperature, more wasted fuel, and more pollution.
If you are buying for immediate use then look out for the ‘Ready to Burn’ logo or buy from a trusted local source for reassurance that the logs are dry enough to burn.
2. Maintaining the Right Temperature
Wood is an excellent fuel. It is plentiful, and renewable. It can often be sourced very close to the point of use and is nearly carbon neutral. Think of a piece of wood as a block of energy. For that energy to be turned into heat, it must be burned at the correct temperature. If it isn’t burned at the correct temperature, it will smoulder.
This will result in very little/no heat being emitted. So it’s not only a waste of your money, but it also pollutes the environment producing residues like creosote which can build up in your chimney and blacken your glass.
The solution? Use a stove thermometer. For most wood stoves, the performance peak, where heat and light combine in perfect harmony, lies between 400°F and 650°F. Maintain this temperature range, and your fire will burn efficiently, free from unsightly marks and residues and allowing you to enjoy a clear view of the flames.
3. Proper Airflow is Key
Today’s wood stoves come equipped with a feature that often goes unnoticed: the air wash system. It’s like a protective barrier, directing a flow of air across the inside of the glass, preventing soot from settling. Beyond this, it’s essential to remember that fires need proper ventilation to burn efficiently. Keep the air vents adequately open, especially during the initial ignition phase. By ensuring good airflow, you allow your fire to burn brightly and cleanly, enhancing your stove’s performance and helping to keep your stove glass clean and clear.
4. Don’t Overload your Stove
While it’s tempting to fill your wood stove to the brim, moderation is key. Overloading can hamper efficient combustion. Instead of cramming in as much wood as possible, add logs in measured amounts, replenishing as necessary. This approach ensures optimal burning and helps maintain clear, soot-free glass, allowing you to enjoy the beauty of the flames to the fullest.
5. Choosing the Right Type of Wood
When it comes to fuelling your wood stove, the choice of wood can make all the difference. Hardwoods, like oak, ash, and maple, are the preferred choice. They burn hotter and more efficiently, producing less creosote than softwoods. This not only ensures a cleaner burn but also helps keep the stove glass clear of blackened residues. For the best results and a clear, captivating flame, always opt for quality hardwoods.
Never burn treated wood or plastic waste, it not only smells terribly, it is toxic which is damaging to the environment and bad for your health. Plastic should go into recycling or in the bin, never on a fire.
6. Clean your Stove Regularly
Every wood stove will need regular cleaning to maintain its pristine look. It’s akin to giving your stove its own mini-makeover, reviving its clear, welcoming facade.
A trusted trick passed down among many stove users involves using the ash from the stove itself. Simply take a damp newspaper or cloth and dip it into the ash. Gently use this to clean the glass in circular motions. It’s a mild abrasive technique that refreshes the glass without causing any harm.
For those of you who prefer commercial products, there are specialized cleaners available designed specifically for stove glass. These products effectively remove soot and creosote, ensuring that the glass remains clean giving you a clear view of those mesmerising flames.
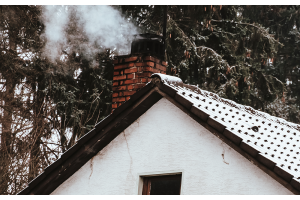
7. Clean your Chimney
Chimneys are essential components of our homes, effectively directing smoke and ensuring proper airflow for wood stoves. Over time, they can accumulate soot, debris, and even occasional obstructions like nests, which can hinder their function. This can result in incomplete combustion in the stove.
It’s important to remember to have your chimney inspected and cleaned before you start using your stove over the colder months. Professional chimney sweeps can efficiently remove any blockages and buildup, ensuring your stove operates efficiently and safely. Regular inspections and cleaning help maintain the longevity of your stove and will help to prevent chimney fires, helping to keep you and your family safe.
8. Check your Door Seal
Your door seal prevents smoke and air from escaping and can gradually deteriorate over time. It’s important to check for any signs of wear or damage before using your stove. When these elements leak out, they can cause the glass to blacken. If you notice any issues, or if the seal isn’t tight, it’s time to replace your fire rope seal. If you do find you need to replace the fire rope on your door seal, we can help, click here to view our range of fire rope and adhesive available.
9. Lighting your Fire Correctly
Starting a fire isn’t just about striking a match; it’s important to prepare your fire correctly before lighting it. Use plenty of small kindling / sticks or suitable firelighter so that the fire is quickly established. Once they’ve caught on, progressively introduce larger logs with a moisture content of 20% or less. Set all air controls to fully open, light the fire and close the door. This will help to reach the stove’s ideal temperature more quickly, minimising the likelihood of creosote buildup.
Allow a reasonable burn for 10 to 15 minutes. The flames should fill the box without being sucked up the chimney. Re-fuel now with slightly larger logs and allow a few minutes to establish. It is only when these small logs are burning that full size logs should be added. If your stove has more than one air control then this is the time to close the one which allows air directly in from the room. This is often called the primary control.
Once the “primary” air control has been closed the temperature will continue to rise. Using a “flue pipe thermometer” will help you know when you have reached the best temperature. If you are using a thermometer then aim for the middle of the “best operation” range.
Once you reach optimum temperature you may now be able to reduce the amount of air using a “secondary” control. Reducing this air will slow the rate of burn but it is vital not to close it off too much. There should always be a reasonable amount of flame in the box and glass should stay clear.
When the stove has been running at optimum temperature for 15 minutes or so, you can check to see if you have set the controls correctly by simply looking at the top of your chimney. If you see smoke, then there is not enough air getting in to the stove. Open the control up a bit, allow the fire to build for a few minutes and have another look. When there is no smoke, you’ve got it right!